Recently while staying at home, I felt something was missing in my room. Browsing social media, I saw many bloggers sharing beautiful handcrafted items that really caught my eye! But when I saw the prices, emmmm...... they were breathtakingly expensive. Just when I was about to give up, I made an exciting discovery: I could make beautiful decorations at home! Today I'll share a DIY technique that will instantly elevate your home's style—glass bottle painting. It's perfect for young people like us who want to be both economical and stylish!
The materials needed are super simple! No need to specifically buy expensive supplies, you might already have them at home. When I first tried it, I just washed and used an empty tea bottle, and the result was surprisingly good—my friends thought I bought it!
Here's what you need: First, a glass bottle - any kind will do. Tea bottles, juice bottles, wine bottles all work! I now keep all the pretty glass bottles I find, making me quite the environmentalist, haha.
Then acrylic paint, 3-4 colors should be enough. From my experience, definitely choose opaque acrylic paint, as transparent ones give much poorer results. My first time I bought the wrong type of paint, and the result was incredibly disappointing.
For brushes, get one flat and one round tip. No need for expensive ones, a set from an online shop for about $2-3 is sufficient. I initially only bought one brush to save money, but it really limited me when painting different patterns and details.
Prepare newspaper to protect your table, or you'll regret it. I once skipped this step thinking it wasn't necessary, accidentally got paint on my white desk, and it wouldn't come off - now I want to cry every time I see that stain.
If you want your work to last longer, consider buying clear sealant. This is really important! I had one piece without sealant, and the paint started peeling after a while, which was heartbreaking. Sealant not only protects the paint but also makes the overall effect more lustrous.
Alright, preparation done, let's get started! The first step is washing the bottle, which is super important! My first attempt failed because the bottle wasn't clean enough, and the paint wouldn't stick, causing the design to peel off soon after. I've since developed a perfect cleaning method: first soak in warm water, then scrub with vinegar or dish soap, and finally rinse thoroughly with clean water. Be especially careful to remove all labels completely, as they'll affect the painting process.
Once the bottle is completely dry (this really needs to be completely dry - I was once too eager to start and there were still water droplets, causing the paint to float on top), you can start applying the base color! Choose your favorite color and paint the entire bottle. Here's a super important tip: apply thin layers! My first time I was too excited and applied it too thick, resulting in the paint running down like a waterfall, making it look terrible. The correct method is to take appropriate amount of paint with your brush and apply evenly - a thin layer is sufficient. If the color isn't deep enough, you can add another layer after the first one dries.
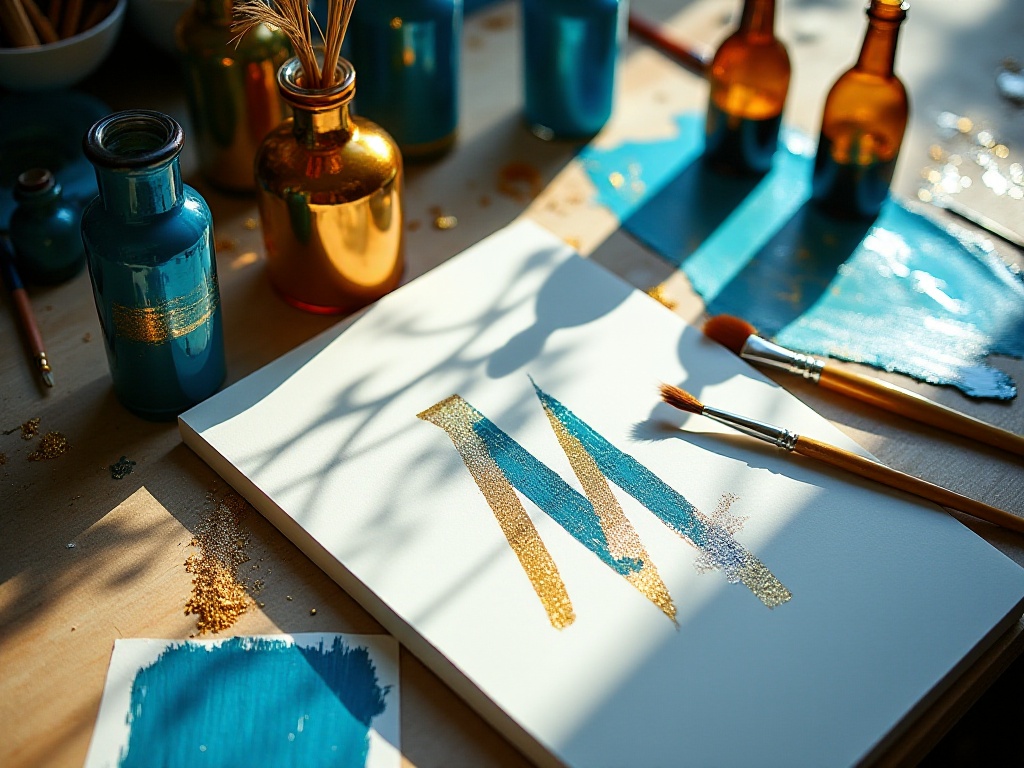
The third step is the highlight - time to unleash your creativity! Don't worry if you're not good at painting, because the casual artistic style is very popular now. My go-to decoration is small dots, which are super simple yet beautiful! Just dip the round brush in paint and gently dot the bottle. You can also draw simple patterns like waves, stars, or moons. Once I was inspired and wrote "Have an energetic day" with a small brush, and my friends said it was super cute.
If you've mastered the basics and want to make your work more impressive, here are some advanced techniques to share!
The first is the gradient effect, which looks really amazing! The specific process is to first paint the bottle with one color, then while the paint is still wet, gently blend another color at the edges. My favorite combination is blue and white gradient, which looks like waves hitting the beach, very atmospheric. I've also tried pink and purple gradient, which is super girly! Just remember to blend gently, or the two colors will mix into a muddy color.
The second technique is using plastic wrap to create special texture effects. I learned this technique from a video creator, and it's absolutely genius! The method is to gently press plastic wrap onto the wet paint, then lightly press with your fingers, and finally slowly peel it off. The result looks like marble patterns, super high-end! I made a vase using this technique and placed it in my living room - friends thought I bought it from a designer store.
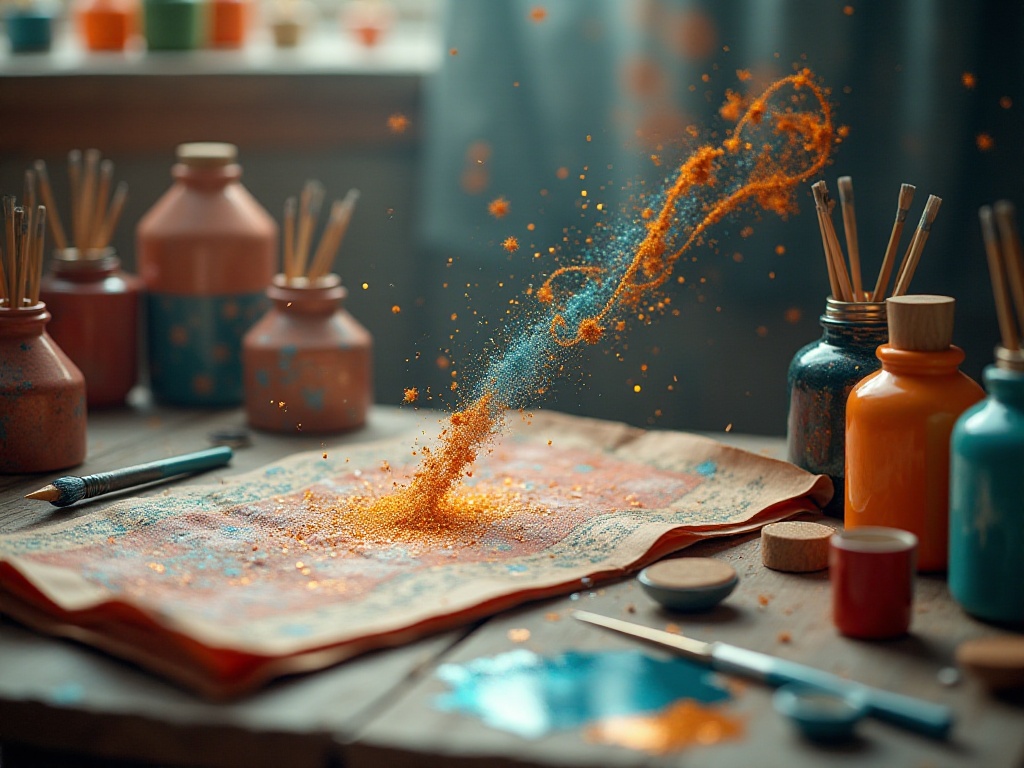
There's also the sponge technique for creating a weathered effect, perfect for those wanting a vintage style. Dab different colored paints with a sponge onto the bottle surface to create an aged look. I decorated a wine bottle using this technique, and with dried flowers inside, it's the epitome of vintage artistic style!
Although this craft seems simple, there are some precautions to keep in mind. First, always work in a well-ventilated area, as acrylic paint has quite a strong smell. My first time I painted in a closed small room, and started feeling dizzy - since then I've moved to the balcony or near windows.
Secondly, be patient and wait for each layer of paint to completely dry before continuing. I was once too eager to finish quickly, and when I applied the next layer, it smeared all the previously painted patterns - that was heartbreaking! Now I watch TV shows while painting, watching one episode while waiting for the paint to dry - time passes quickly this way.
There's also the paint mixing issue. If you want the paint to be more controllable, you can add a tiny bit of water to thin it, but never add too much! Once I added too much water, and the paint ran down like foam, forcing me to start over. The correct mixing method is to add just one drop of water at a time, slowly adjusting to your desired consistency.
The uses for painted glass bottles are endless! The most basic use is as a vase, looking great with either dried or fresh flowers. I have a small vase I painted on my desk, and it always brightens my mood when I see it.
It can also serve as a pen holder, perfect for the desk. I even painted some simple expressions on my pen holder, and seeing these cute faces while doing homework always improves my mood.
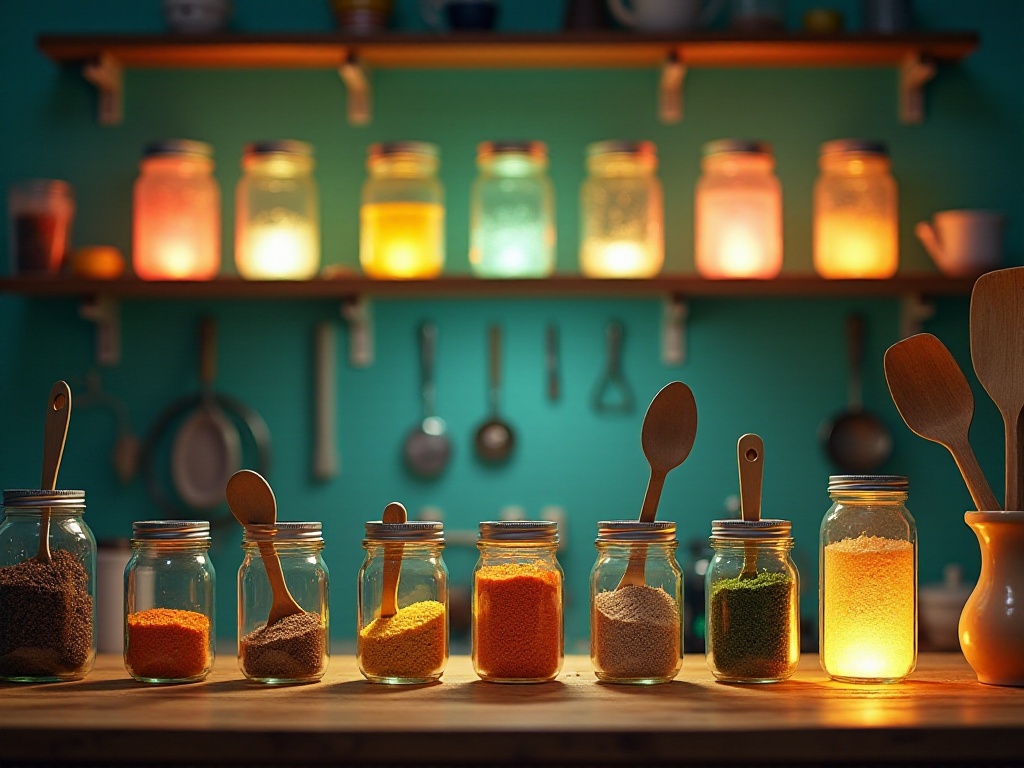
You can turn it into a night light! Just put a string of small lights inside the bottle, and when lit up at night, the painted patterns create soft, dreamy light effects. After seeing my idea, my roommate made one too, and now we don't even use the main lights in our dorm at night, just these night lights.
If you like organizing, these painted bottles make great storage containers. I use them to store small items like hair ties, tape, and paper clips. Each bottle has a different pattern, making them both neat and attractive.
They can also be purely decorative pieces. I arranged three painted bottles of different sizes on my TV cabinet, with gradual changes in colors and patterns, creating a nice layered effect.
Let's talk about the cost of this craft - it's really economical! If you're like me and collect various pretty glass bottles, the bottle cost is zero.
For paint, a basic set on online shops costs about $5-8, I bought a 12-color set for $6. Though not the most expensive brand, the quality is decent and the colors are sufficient.
Brushes are even cheaper, I bought a 5-piece set for just $2. Though not professional, they're perfectly fine for beginners. If you want better results, you can buy slightly more expensive brushes, but generally under $8 will get you good ones.
Sealant costs about $3 a bottle and lasts a long time. The bottle I bought has lasted over half a year and still isn't finished, as you only need a small amount each time.
In total, with less than $15 investment, you can make several unique decorative pieces. Similar handcrafted items in stores would cost $30-40 each. Plus, making them yourself gives you a sense of achievement, making you feel proud every time you see them.
I remember my first attempt was full of mistakes! Paint too thin runs down, too thick cracks. Once I confidently tried to paint a complex pattern all at once, but it got messier and messier, and I had to wash it off and start over.
But don't get discouraged, failure is the mother of success! After several failed attempts, I finally got the hang of it. Now I can control the paint consistency well and know when to use what kind of pressure.
My experience is that it's best to start with simple patterns. Practice with dots or straight lines first, then try more complex patterns after mastering the basics. And definitely be patient - it's better to spend more time waiting for paint to dry than rushing to the next step.
Another important lesson is to learn from each mistake. I now record every creative process, including what colors and techniques I used, and what needs improvement. This helps avoid making the same mistakes next time.
Beyond regular painting, there are many interesting creative possibilities to try. For example, creating a frosted effect with paint - do this by gently dabbing with a sponge while the base color is still wet to create a frosted glass texture.
You can also use stickers to help create geometric patterns. First stick the stickers on the bottle, paint around them, then peel them off after the paint dries to leave neat geometric patterns. I made a Nordic-style vase using this technique, and it looks amazing!
Recently I've been exploring how to apply this technique to drinking glasses. However, with glasses, you need to be careful not to get paint where you drink from, so I only paint the lower external part. This way you can have a unique set of glasses that's still safe to use.
You can also try adding decorative elements to the painted base. Like wrapping twine around the bottle neck, or attaching small shells or dried flowers to add dimension. Recently I've been experimenting with pressing dried flowers into thin pieces and attaching them to painted bottles - the results are surprisingly good!
Every time I look at the glass bottles I've decorated, I feel a special sense of achievement. A ordinary discarded glass bottle becomes a unique piece of art through creativity and effort. This process of making ordinary items extraordinary is really interesting and meaningful.
This craft is perfect for young people who are just starting work or still in school. It doesn't require much money or professional skills - just a bit of patience and creativity to make your living space more stylish.
Finally, I want to say that in handicrafts, the most important thing isn't how perfect the result is, but enjoying the creative process. Everyone's aesthetic and creativity are different, so don't worry too much about others' opinions - making something you like is what matters most. I look forward to seeing more people try this interesting craft and seeing more unique creative ideas!
 Previous