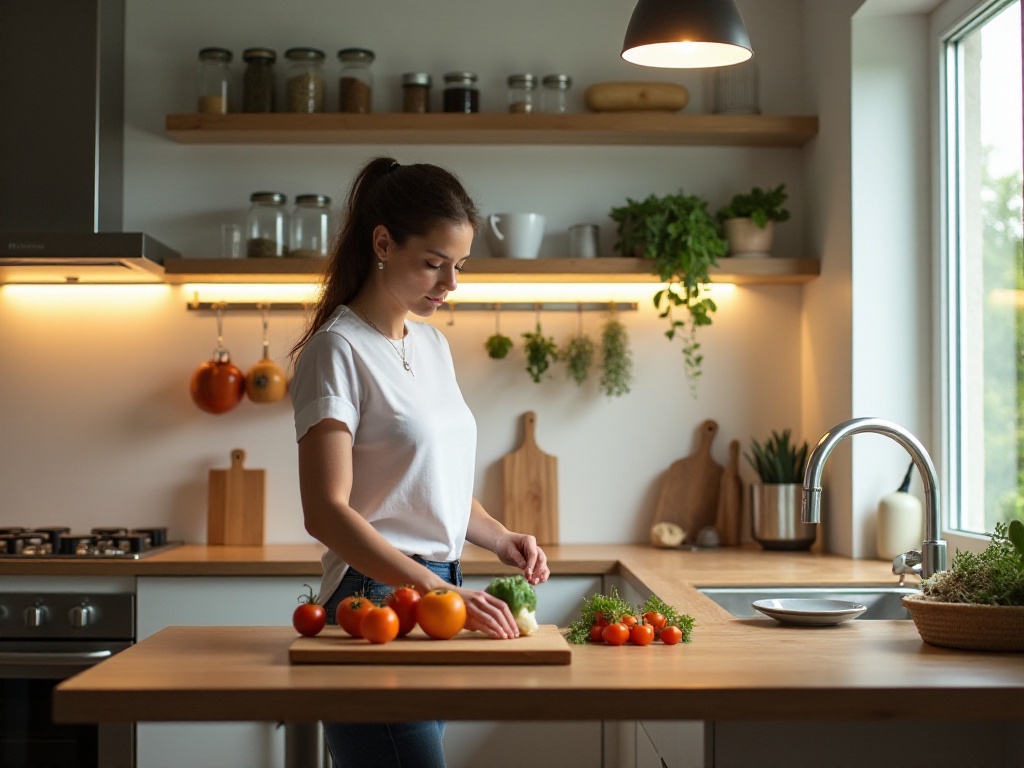
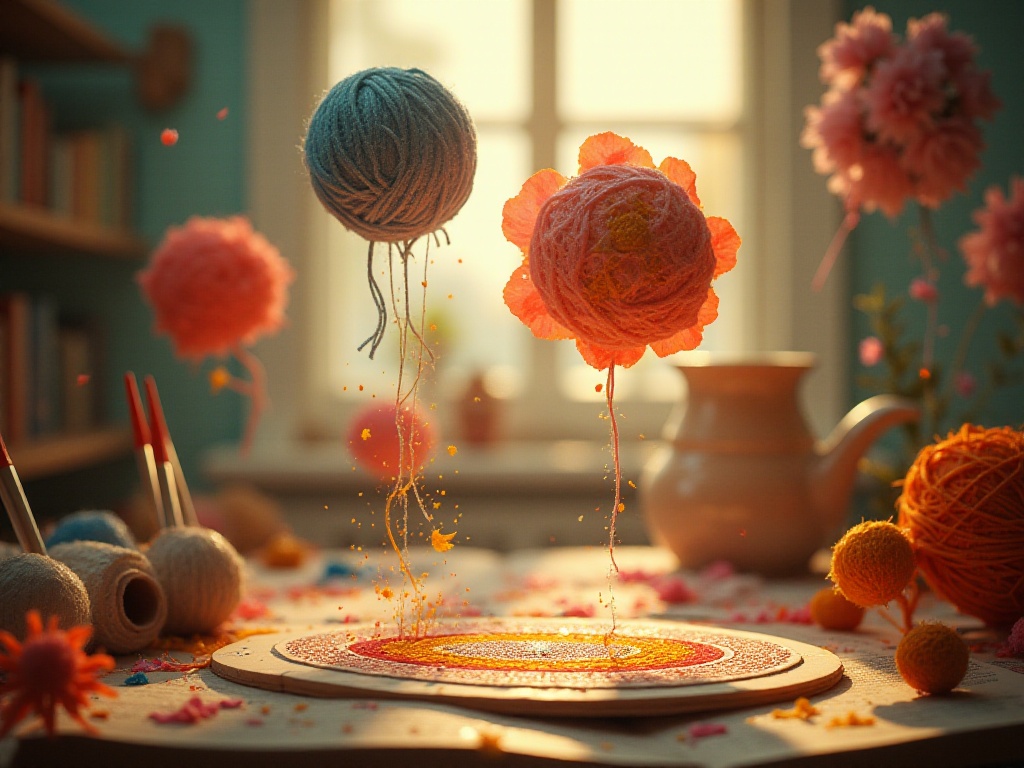
Today I want to share one of my favorite topics - creative DIY crafts. Every time I watch DIY videos and see those incredibly delicate finished products, I'm amazed. Especially those art pieces transformed from recycled items - they're simply mesmerizing. To be honest, when I first started, I thought I couldn't do it at all. As someone with "clumsy hands," I didn't think I could create such refined pieces. But after years of exploration, I discovered that anyone can create amazing crafts with the right methods and techniques.
As a DIY expert who started from zero and can now independently complete various complex projects, I deeply understand the confusion when starting out. I remember my first DIY attempt - I couldn't even distinguish basic tools, let alone complete those seemingly sophisticated projects. But step by step, I've come this far. Now my friends often praise my work, and some even ask me to make custom gifts!
Let's first talk about tool selection. When I started, choosing the wrong tools really discouraged me. Looking back, I wish someone had guided me. So I'll explain tool selection details very thoroughly.
A utility knife is one of the most basic tools. Choose one with replaceable blades and preferably an anti-slip grip. I initially bought a cheap utility knife to save money but found it uncomfortable to use and easy to cause injuries. Later, I switched to an imported utility knife with a rubber grip. Though more expensive, it's much more comfortable and safer to use.
Scissors are also essential - you should have two sizes. Large scissors for cutting thicker materials, and small ones for detailed cutting work. I now use Japanese craft scissors. Though pricey, they're extremely sharp, cut paper smoothly, and don't leave uneven edges.
Regarding glue, it's quite complex. Have at least three types: regular white glue, quick-dry adhesive, and hot glue. White glue works best for paper materials, quick-dry adhesive for small-area bonding, and hot glue for heavier items. I learned this the hard way when trying to glue glass with white glue - it wouldn't stick no matter how long I waited. Later I learned different materials require different types of glue.
Acrylic paint is my favorite - I recommend buying sets for easier color matching. Beginners can start with basic colors like red, yellow, blue, white, and black, mixing other colors as needed. I use imported acrylics now. Though pricier than domestic ones, they apply evenly and resist fading.
Have several types of brushes - flat, pointed, and round. Start with an inexpensive set for practice, then upgrade as your skills improve. I mainly use wolf hair brushes now. They're expensive but durable and don't shed.
Besides regular rulers, have a triangle ruler and a flexible measuring tape. The flexible tape is great for measuring irregular objects. I also bought a steel ruler specifically for cutting harder materials, preventing damage to regular rulers.
Beyond these basic tools, prepare some auxiliary tools like pencils, erasers, markers, and masking tape. Though seeming minor, these items are frequently used. Masking tape is especially useful for drawing straight lines or securing items.
After gathering tools, get a dedicated storage box. I use a clear multi-layer storage box for easy tool location and cleanup. Choose one with wheels for easier mobility.
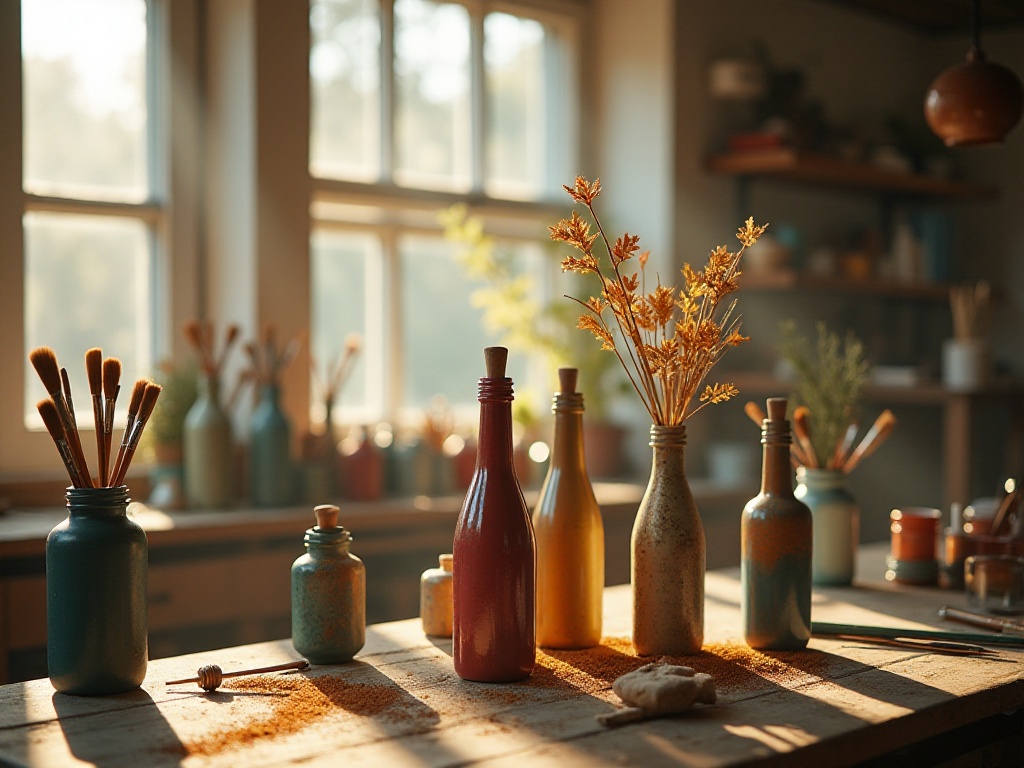
Glass bottle transformation is my specialty. I remember being captivated by finished product photos online when I first tried. After countless attempts and failures, I finally developed a complete transformation process.
First, bottle selection is crucial. Not all glass bottles are suitable for transformation - choose ones with beautiful shapes and good glass quality. I prefer wine bottles and imported jam jars, as they usually have thicker glass and elegant shapes.
Cleaning is the first step and most easily overlooked. Many think a quick rinse is enough, but it's not. First soak in warm water to soften label adhesive. Then carefully scrape off labels, using vinegar or citrus oil for residual adhesive. I once had uneven coloring because of inadequate cleaning.
Bottle painting is the most fun part. I like using gradient colors for layered effects. Mix paints from dark to light, preparing three to four color gradients. Use a sponge to apply paint evenly from the bottom up. Pay extra attention to transition areas between color gradients, applying multiple times for natural blending.
After the base colors dry, add details. I love using gold or silver markers for accents, making the whole piece more refined. You can draw simple geometric patterns like dots, triangles, or lines. Beginners should practice on paper first before working on bottles.
The final step is applying protective varnish - don't skip this. I once didn't apply varnish to save time, but the paint started peeling shortly after. Now I always apply two to three layers of clear protective varnish, which protects the paint and adds a quality finish.
Transformed bottles have many uses. They can be vases, pen holders, or even night lights. I recently tried putting LED string lights inside bottles - the effect is magical. These handmade items make great gifts too. Last month I gave a transformed bottle to my best friend for her birthday - she absolutely loved it.
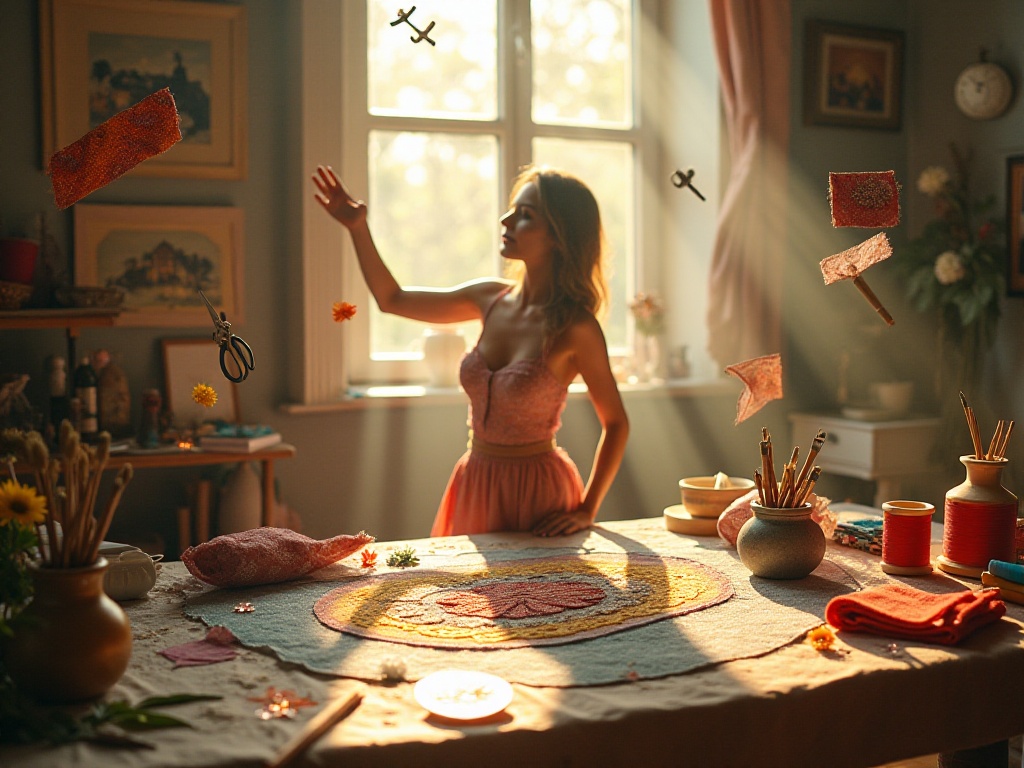
Letter wall art is one of my specialties. This idea originated when I wanted to prepare a special birthday gift for my best friend. I saw letter art trending overseas online and found it very creative, so I started researching.
First, canvas selection is crucial. I recommend medium-thickness canvas with some texture. Smooth canvas isn't suitable as paint flows too easily and is hard to control. Choose canvas size based on your content - I usually pick 30×40cm or 40×50cm sizes, perfect for wall hanging.
Always sketch on paper first. I draw the desired letter shape in pencil, revising until satisfied. Then transfer to canvas using carbon paper to avoid repeated erasing on canvas. Keep transfer lines light so they won't show through the paint.
Color selection is important. I usually choose three to four colors for balance - not too monotonous or chaotic. Consider color harmony, using different shades of the same color family or complementary colors. I often pair blue and pink tones for a fresh yet warm look.
Coloring technique matters too. I like using gradients for natural color transitions. Start with the lightest color as base, gradually add darker colors, blending multiple times at color boundaries for smooth transitions. Use soft brushes to avoid visible brush strokes.
Around letters, I add decorative elements like small flowers, stars, or simple geometric shapes. These details make the work more lively and interesting. But be careful not to overdo decorations - they shouldn't overshadow the main letters.
Finally, composition is key. Letter positioning is crucial - mind the white space. I usually place main letters slightly off-center for more dynamism. For multiple letters, maintain even spacing and overall rhythm.
Furniture makeover is a great way to save money while expressing personality. When I first moved to my new home with a limited budget, I started figuring out how to transform second-hand furniture into pieces I love. After years of practice, I've developed a complete renovation process.
First is furniture selection. Not all second-hand furniture is suitable for makeover - check if the basic structure is sound. I particularly focus on solid wood furniture as it's best for transformation. Carefully check joint stability and look for signs of wood boring insects. My old wooden chair, though looking aged, had a very solid structure - perfect makeover material.
First step after bringing home is thorough cleaning. Use cleaner to remove all stains, especially corner dust. Use special degreaser for oil stains. Let furniture dry completely after cleaning for better sanding results.
Sanding is the most time-consuming but crucial step. I prepare sandpaper of different grits, sanding from coarse to fine. Start with coarse sandpaper to remove old paint layers, then use fine sandpaper for smooth finishing. Maintain even pressure, especially on corners. I usually spend two to three hours sanding - tiring but important for results.
After sanding, vacuum all sawdust then wipe with damp cloth. This is important as remaining dust affects paint finish. Let furniture dry completely - I usually wait a day.
Apply primer before paint for better paint adhesion. Apply two thin primer layers, letting each dry completely. Paint in appropriate temperature and humidity - preferably on sunny days. I now choose eco-friendly water-based paint - more expensive but healthier.
Be bold with paint color choice. I painted my wooden chair mint green, paired with brass hardware for a vintage feel. Paint evenly, applying thin layers rather than thick ones. I usually apply three paint layers, letting each dry completely.
Finally, handle details. I replace hardware, like switching iron handles to brass for better texture. Use wood repair pens for scratches. Finally apply protective varnish to extend life.
Transformed furniture is both practical and stylish. My wooden chair is now the most popular seat on the balcony, admired by visiting friends. Plus, transforming furniture yourself brings great satisfaction.
Holiday decorations instantly fill homes with festive atmosphere. Different holidays need different decoration styles, and handmade decorations save money while showing thoughtfulness.
Valentine's Day decorations are simplest, mainly using red. I cut various sized hearts from red paper, some 3D, some flat. String them with clear fishing line into decorative streamers. Hang streamers in waves for dynamic effect. Besides hearts, I make roses from red and pink crepe paper - looks complex but becomes easy once you master the technique.
Easter eggs are my favorite craft. First carefully clean raw eggs, then poke small holes at both ends with pins. Be very careful not to crack shells. Blow out egg contents through holes - requires patience. Once shells are completely dry, start decorating. I like using crayons on eggshells for bright colors. Draw simple stripes, dots, or cute cartoon patterns.
Christmas decorations need most thought. Besides traditional trees, I make special ornaments. Like knitted bells, 3D stars from red and green paper, and felt snowmen. These can decorate trees or other home corners. My proudest creation is clay gingerbread men for door wreaths - perfect for the season.
For Mid-Autumn Festival, I like making paper lanterns. Cut colored paper into rectangles, fold and cut patterns, then glue into cylinders. Place LED lights inside - beautiful at night. I also make mooncake and jade rabbit displays from light clay for coffee tables.
Spring Festival decorations emphasize festivity. Besides traditional couplets and "fu" characters, I cut window flowers from red paper. Paper cutting looks hard but becomes easier with practice. I can now cut many patterns - traditional happiness and fortune characters plus modern designs. I also make Chinese knots from red cord - large ones for walls, small ones for hanging decorations.
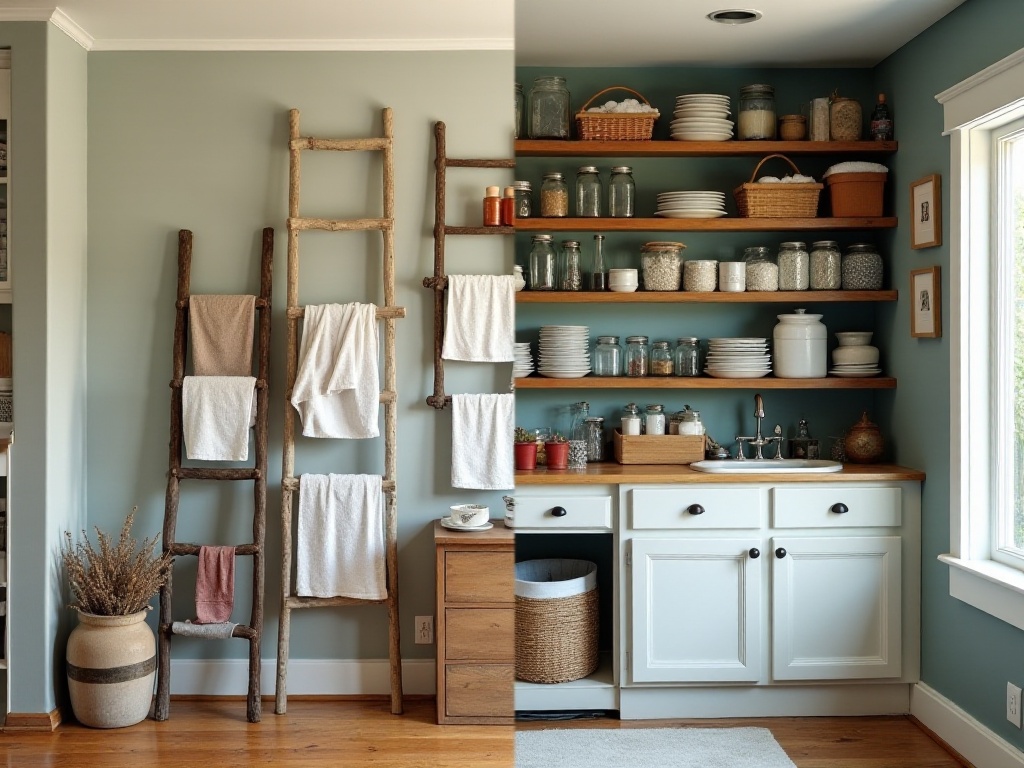
Storage is a headache for every household, especially for craft enthusiasts like me with various materials and tools to organize. After years of exploration, I've developed some very practical DIY storage methods.
Basic storage box creation starts with waste cardboard boxes - choose sturdy ones. I prefer double-layer boxes for durability. Cut boxes to needed size, using rulers for straight edges. Use masking tape on fold lines for neater corners.
Wrapping paper choice matters too. Choose slightly thicker paper to prevent damage. Pattern selection depends on box use - simple solid colors or pinstripes for office supplies, delicate floral patterns for jewelry boxes.
Pay special attention to corner wrapping. Cut diagonal corners to avoid excess folds. Apply glue evenly, especially on edges to prevent lifting. Reinforce edges with clear tape for durability.
Internal divider design is important. I use cardboard for dividers, adjustable to needed size. Ensure stability by adding extra glue at joints, sometimes reinforcing with small triangle supports. My jewelry box has several compartments separating earrings, necklaces, and rings for convenient use.
Besides basic storage boxes, I make special storage items. Like pencil holders from old glass jars decorated with twine - practical and attractive. Also wall organizers from old jeans - cut legs and sew horizontal lines for pockets to store miscellaneous items.
Recently developed a new storage method using PVC pipes for tool organization. Cut pipes to different lengths, spray paint preferred colors, mount on walls to store long tools like measuring tapes and scissors. This idea earned many friends' praise - some even asked for blueprints.
Over years of DIY, I've gathered many useful tips. These techniques seem simple but really make crafting smoother.
Glue usage is basic but many make small mistakes. With white glue, don't apply too much - a thin layer suffices. For large areas, outline glue area with pencil first to avoid mess. When using quick-dry adhesive, ensure ventilation and use wooden sticks or toothpicks instead of fingers.
Spray painting requires technique. Too close creates paint drops, too far gives uneven coverage. Through practice, I found 20cm distance works best. Shake can 3-5 minutes before use for proper paint mixing. Maintain steady movement while spraying, don't linger in one spot. Wait for complete drying between layers.
Masking tape helps with detailed work. Use it for straight lines or color block separation to prevent messy edges. Don't leave tape too long - it might peel underlying paint when removed.
Sanding has rules. Use sandpaper from coarse to fine - don't rush. Sand along wood grain to avoid ugly scratches. For corners, fold sandpaper into triangles for better control.
Paint mixing is an art. Test small amounts on palette first to determine ratios before large-scale mixing. Cover mixed paint promptly to prevent drying. Store precious colors in sealed containers for future use.
Tool maintenance is crucial. Clean brushes immediately after use, especially after acrylic paint - rinse repeatedly until water runs clear. Replace utility knife blades regularly - dull blades are dangerous and difficult. Clean scissors often, apply machine oil on blades to prevent rust.

Through years of DIY practice, I've deeply experienced the joy of handcrafting. The sense of achievement from completing each project is irreplaceable. DIY's most important aspect isn't the result but enjoying the creation process. Everyone starts from zero - what matters is having courage to try.
Seeing friends praise your work feels amazing. Through DIY, we not only save decoration costs but fill every corner with unique personality. Most importantly, these are one-of-a-kind pieces full of creativity and thoughtfulness.
If you're interested in DIY, don't hesitate - start trying now. You can also create work that amazes friends. Remember, failure is the mother of success - don't fear it, every attempt is progress. Hope more people fall in love with DIY, making life more creative and fun.
 Previous