When I first started living alone, the kitchen was a nightmare. Fresh out of college and working my first job, I rented a small apartment with a tiny kitchen. As a complete novice at organization, my attempts at managing it turned it into absolute chaos. Ingredients were everywhere, condiment bottles and jars were scattered all over, and kitchen tools were just placed wherever there was space. Every time I cooked, I spent ages looking for things, which was incredibly frustrating.
Things are different now. After years of trial and error, I've finally gotten my less-than-100-square-foot kitchen perfectly organized. Now when friends visit, they're amazed at how tidy my kitchen is! Everything is placed logically, making cooking incredibly smooth. Today, I'll share how I, as someone with severe OCD, transformed my kitchen into a culinary studio.
Let's start with the most challenging issue: organizing condiments. I remember when I first started cooking - it was terrible! All the condiments were crammed into the cabinets, and finding soy sauce meant turning the whole cabinet upside down. Once, I couldn't find the garlic chili sauce and ended up ordering takeout out of frustration. Finally, I couldn't take it anymore and started figuring out how to organize things.
After countless trials and failures, I finally developed a super practical classification system. First, I divided all condiments into three categories based on frequency of use. The first category includes daily essentials like salt, light soy sauce, dark soy sauce, and oyster sauce - these go on a rack next to the stove, within arm's reach. The second category includes items used often but not daily, like cooking wine, vinegar, and doubanjiang, which go in the middle cabinet shelves, easily accessible when needed. The third category consists of rarely used items like spices and imported condiments, which are stored in the top cabinets.
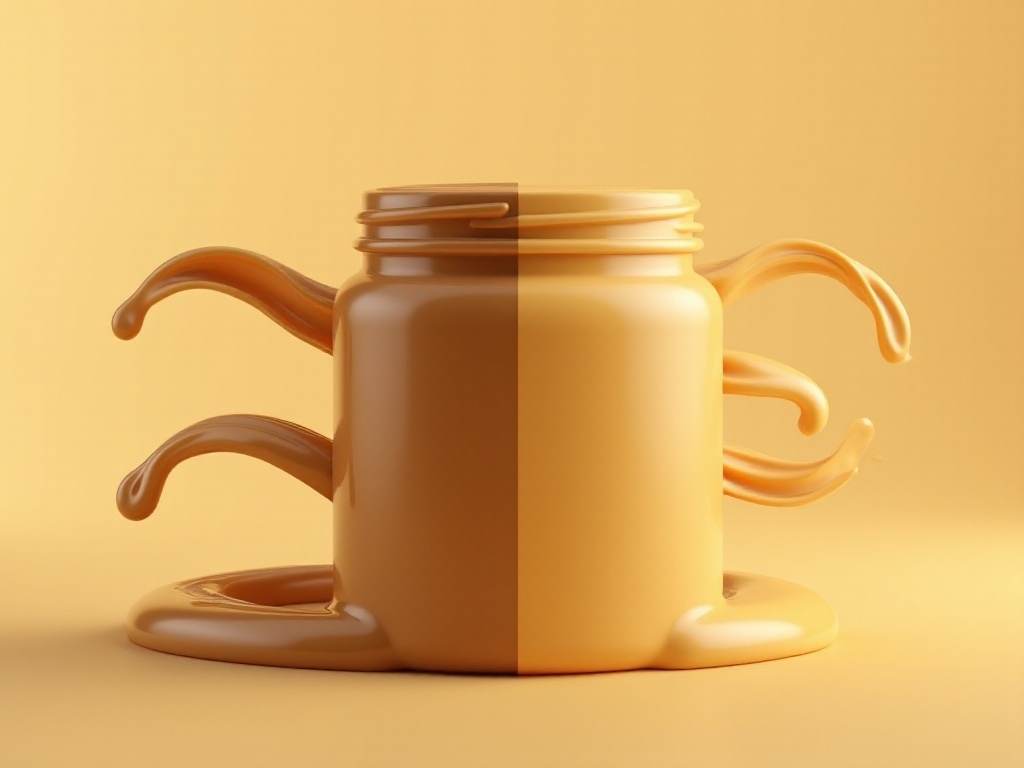
Speaking of condiments, I must mention the peanut butter problem. Peanut butter is really troublesome - there's always that layer of oil on top. I tried many methods: stirring was too much work, and throwing away the oil seemed wasteful. Then I discovered a brilliant solution: store the peanut butter upside down! Isn't that simple? When you need to use it, just turn the jar right side up and shake it gently - the oil mixes evenly into the peanut butter. I've been using this method for several years with great results.
Food preservation is also a skill. In my refrigerator, everything is stored in zones, with raw and cooked foods separated, and each ingredient has its designated spot. Vegetables and fruits are washed clean, dried, and stored in preservation bags. Tofu and dairy products are placed in easily accessible spots since they have shorter shelf lives. Meat and seafood are processed, divided into small portions, vacuum-sealed, and stored in the freezer - this saves space and makes thawing convenient.
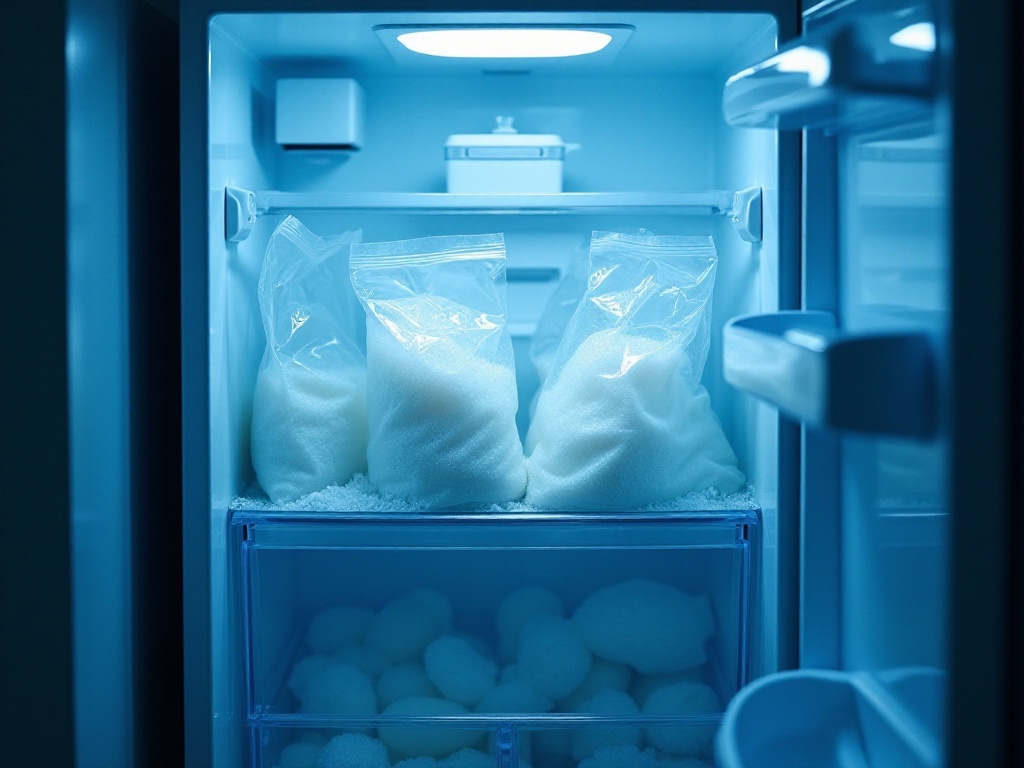
Organization is truly my passion - just thinking about transforming a messy kitchen into a neat and orderly space gives me a great sense of accomplishment. Let's talk about freezer bag usage tips. Like most people, I used to just toss food items into the freezer randomly. This made finding things like an archaeological dig, and foods would often absorb other flavors.
Now my method is this: First, categorize by food type, with separate areas for meat, seafood, and frozen foods. Then label each freezer bag with three pieces of information: food name, purchase date, and expiration date. This eliminates those awkward moments of thawing something only to discover it's last year's dumplings.
Kitchen utensil organization is also crucial. I divide my utensils into three categories: daily items like woks, spatulas, and chopsticks are kept within reach; frequently used but not daily items like rice cookers and food processors go in easily accessible cabinets; rarely used items like cake molds and ice cream makers are stored up high.
Pot lid storage was always a challenge until I discovered the magic of door hooks. Installing hooks on the back of cabinet doors allows pot lids to hang neatly, saving space and making them easy to find. For condiments, I created a rotating storage rack in the cabinet - just spin it to find what you need, no more rummaging required.
Small item organization is also important. I use drawer organizers with multiple compartments for small items like spoons, measuring cups, and can openers. Each compartment is labeled, ensuring everything stays in its proper place.

After discussing organization, let's talk about cleaning. I believe a clean kitchen isn't just about being organized - maintaining cleanliness is crucial. Oven cleaning has always been challenging, especially the grease on oven doors that seems impossible to remove. After trying many methods, I finally found one that works great: make a paste with baking soda and white vinegar, apply it to the glass, let it sit for 15 minutes, then wipe with a damp cloth - the grease comes off easily. I've been using this method for several years with excellent results.
Maintaining frying pans is also key. Many people wash their frying pans with dish soap right after use, which isn't ideal. My method is to sprinkle some coarse salt while the pan is still warm and gently scrub - this not only removes stubborn grease but also protects the pan surface. I've maintained my cast iron pan this way for over three years, and it still looks as good as new.
Range hood cleaning is another technical task. I deep clean my range hood monthly. First, soak the filters in hot water with some baking soda and dish soap for half an hour, then gently brush them clean. The hood exterior gets wiped down with special cleaner, paying extra attention to corners using a toothbrush.
Cutting board cleaning and sanitization are vital. I have two cutting boards - one for raw food and one for cooked food. After each use, they're rinsed with water and sanitized by rubbing with salt and lemon slices. They're dried standing up in a special rack, which prevents bacterial growth.
The sink is one of the most easily dirtied areas in the kitchen. I rinse it thoroughly with water after each use and dry it with kitchen paper. Every weekend, I do a deep clean with baking soda and lemon slices, which removes water stains and keeps the sink shiny.

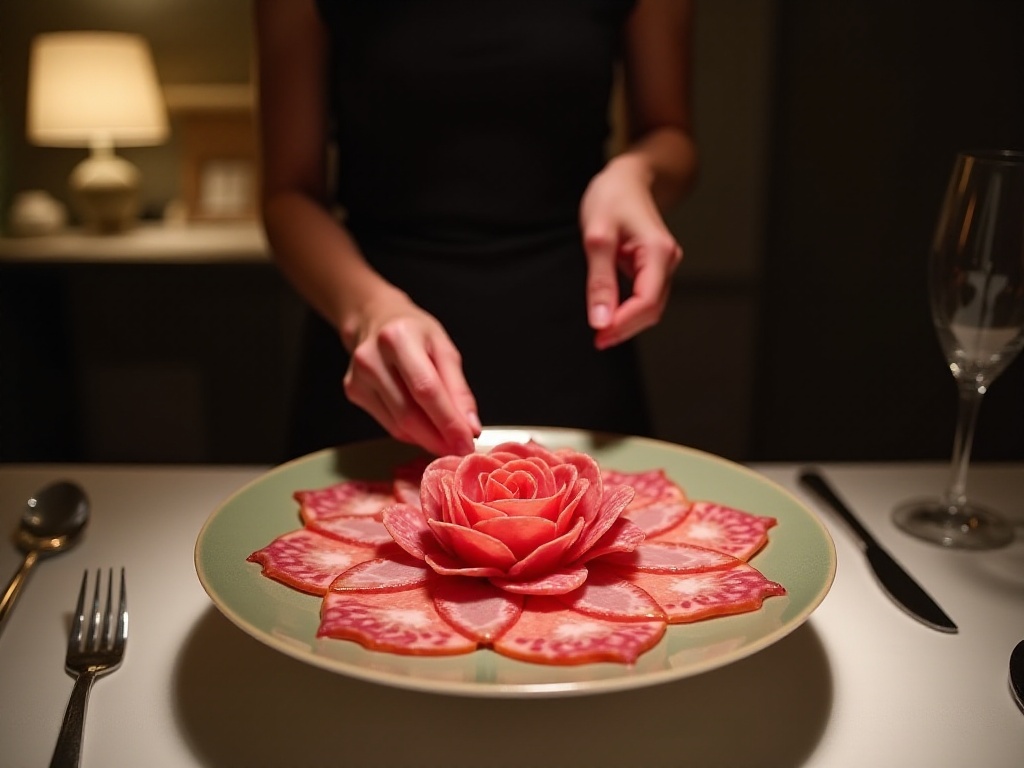
When it comes to kitchen skills, we can't ignore plating. Sometimes a dish's appearance is more important than its taste, especially when entertaining guests. My specialty is creating rose-shaped arrangements with Italian salami. This technique is simple to explain and not difficult to execute, but the result is stunning.
Here's how to do it: First, slice the salami thinly, then fold each slice into a half-moon shape. Starting from the outer edge, arrange the pieces overlapping slightly. When you've arranged them all, give it a gentle turn, and you'll see a lifelike rose. I often use this technique at parties, and it always draws amazement.
Besides salami roses, I have many other plating techniques. For example, using cucumber slices as borders, carving carrots into small flowers, garnishing with purple cabbage shreds - these can all make ordinary dishes look upscale. Sometimes I'll combine ingredients of different colors, like red peppers, yellow peppers, and broccoli, to create an appetizing presentation.

After sharing all these tips, some might feel overwhelmed by making so many changes at once. Actually, there's no need to rush - you can take it slowly. I suggest choosing one area to organize each week, gradually building habits. For example, organize condiments the first week, tackle storage spaces the second week, arrange utensils the third week - this progressive approach feels less overwhelming.
Follow one principle when organizing: keep frequently used items within reach, less frequently used items can be stored further away. This not only improves efficiency but makes the whole kitchen look more organized. Also, after organizing an area, maintain it - don't let it return to chaos.
Did you know? According to "Good Housewife" magazine, over 40% of kitchen space in average households is wasted. But by applying these storage techniques, you can double your space utilization. For instance, use wall space for hooks or shelving, install storage racks behind doors, use drawer organizers - all these can make space usage more efficient.
A labeling system is also important. All my storage boxes, drawers, and cabinets are labeled, making everything's location obvious. Labels don't need to be complex - just names are fine, but consistency in following them is key.
Regular clearing out is essential. I check refrigerated ingredients monthly, discarding expired items and using soon-to-expire ones. Cabinets and drawers get regular reorganization, storing away rarely used items and placing new purchases in appropriate spots.
Honestly, organizing a kitchen isn't easy - it takes time, patience, and persistence. Like maintaining a relationship, the more you invest, the more you get back. But when you see your kitchen become neat and orderly, making cooking effortless, all the effort feels worthwhile.
I love this saying: A well-organized kitchen is the best creative space. In a clean environment, not only is cooking more enjoyable, but creative inspiration flows continuously. Every time I stand in my kitchen, seeing everything in its proper place, I feel an inexplicable satisfaction.
I hope my shared experiences help you, and I look forward to seeing your kitchen transformation results. Let's turn our kitchens into creative and warm culinary studios together!
 Previous